Built from the pan up
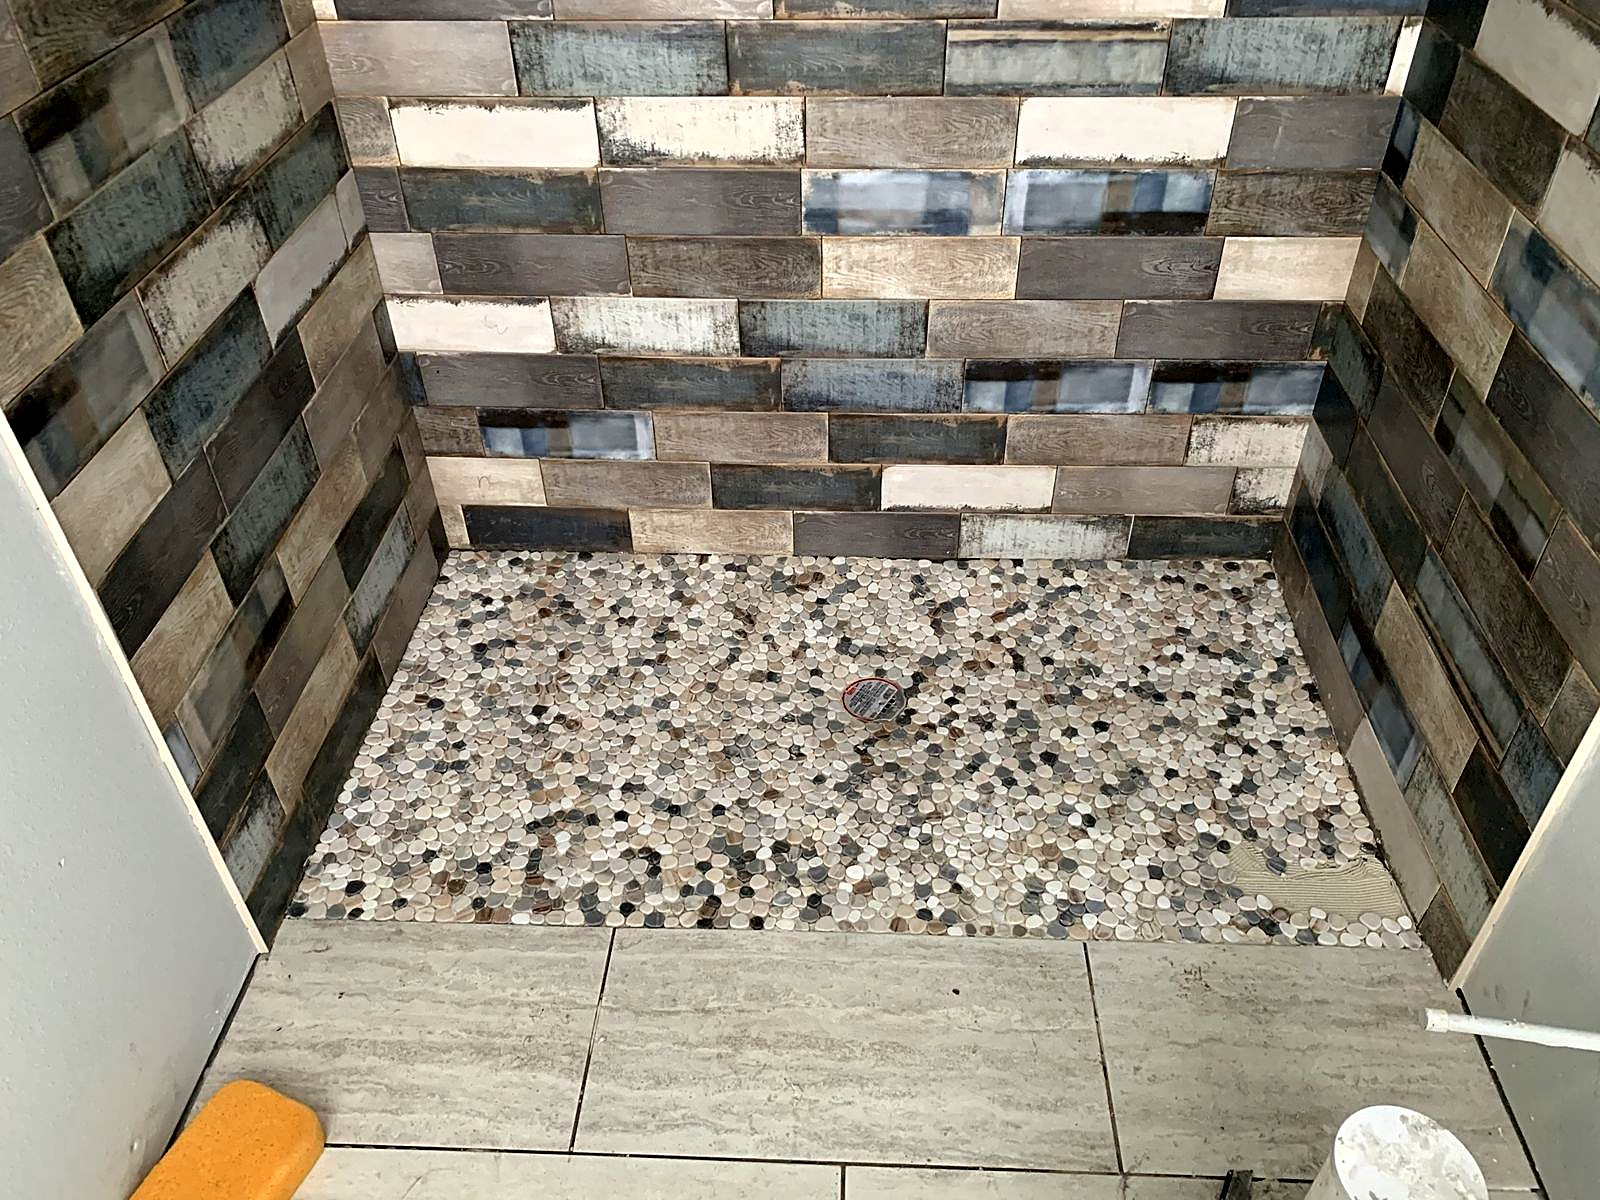
A tile shower is only as good as what's behind the tile. Before the first piece goes up, we make sure the floor is sloped to the drain, the walls are solid backer board, and the whole wet area is sealed with a RedGard or Schluter-Kerdi style waterproofing membrane. That's the part you never see after the job, and it's the part that decides whether the shower still looks good years from now.
Design options
- Walk-in showers and tub-to-shower conversions
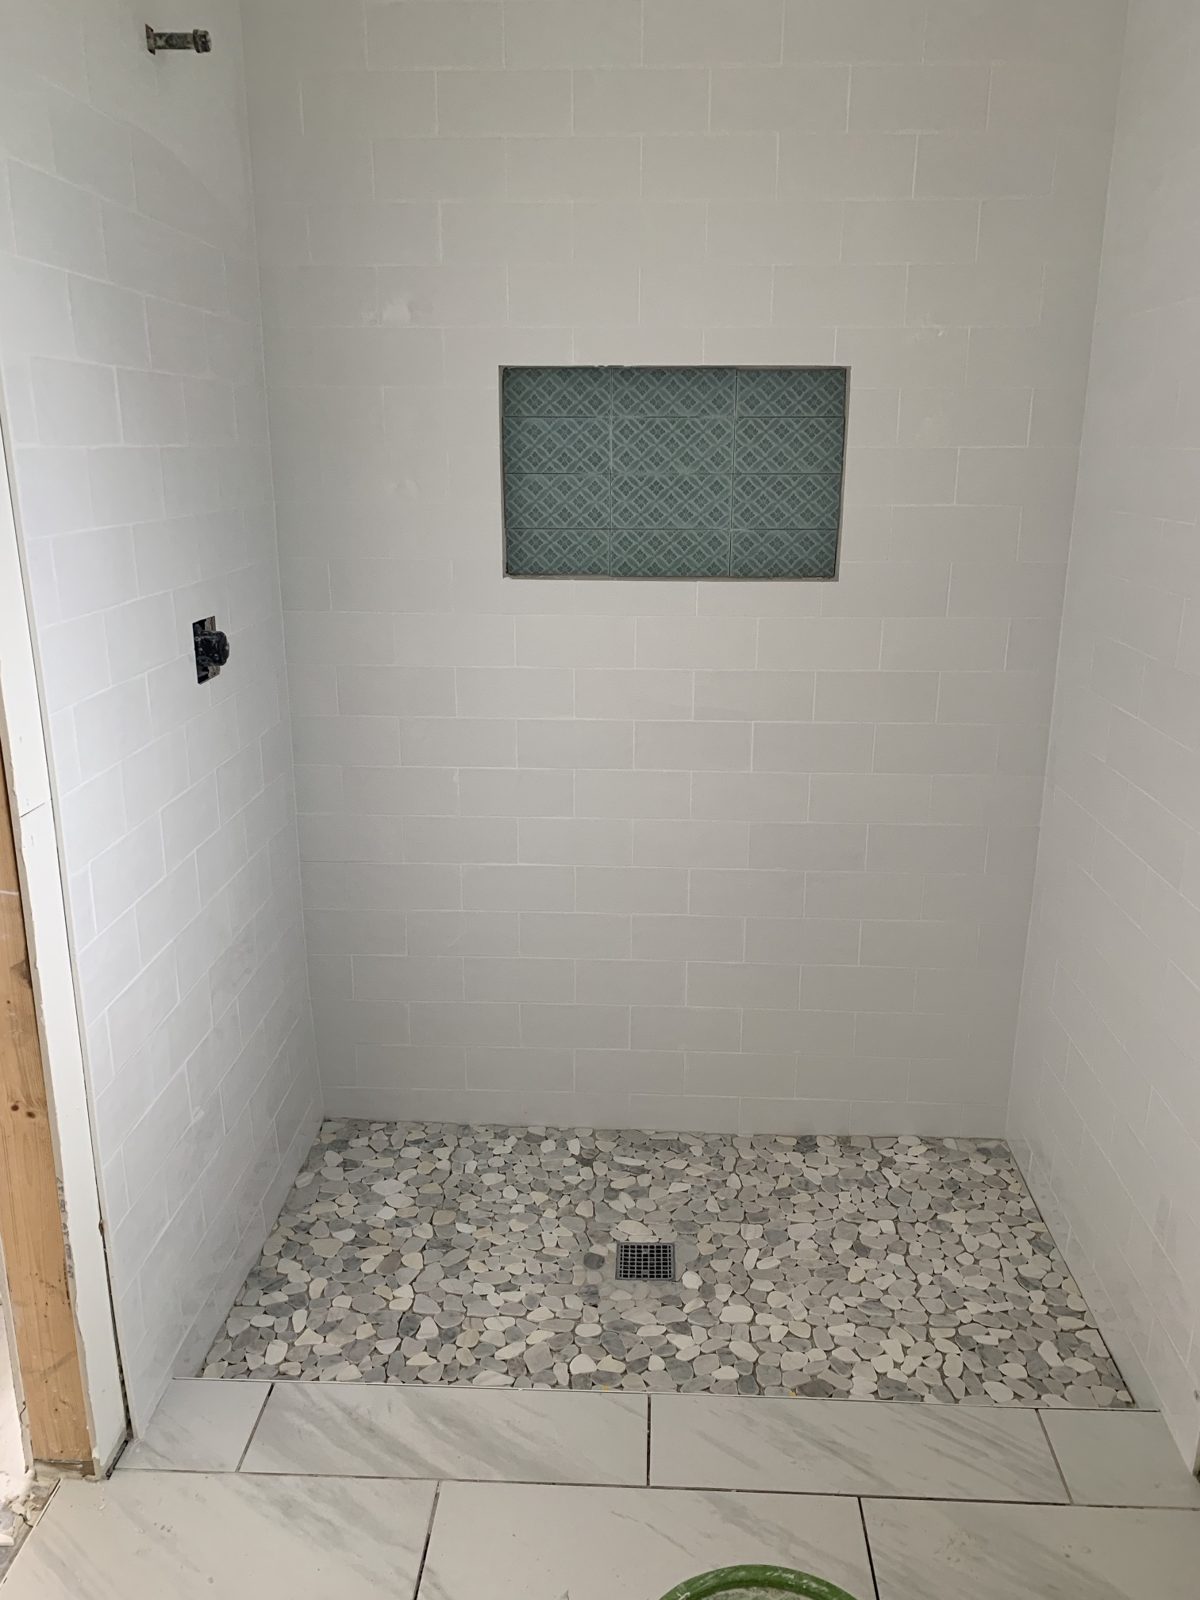
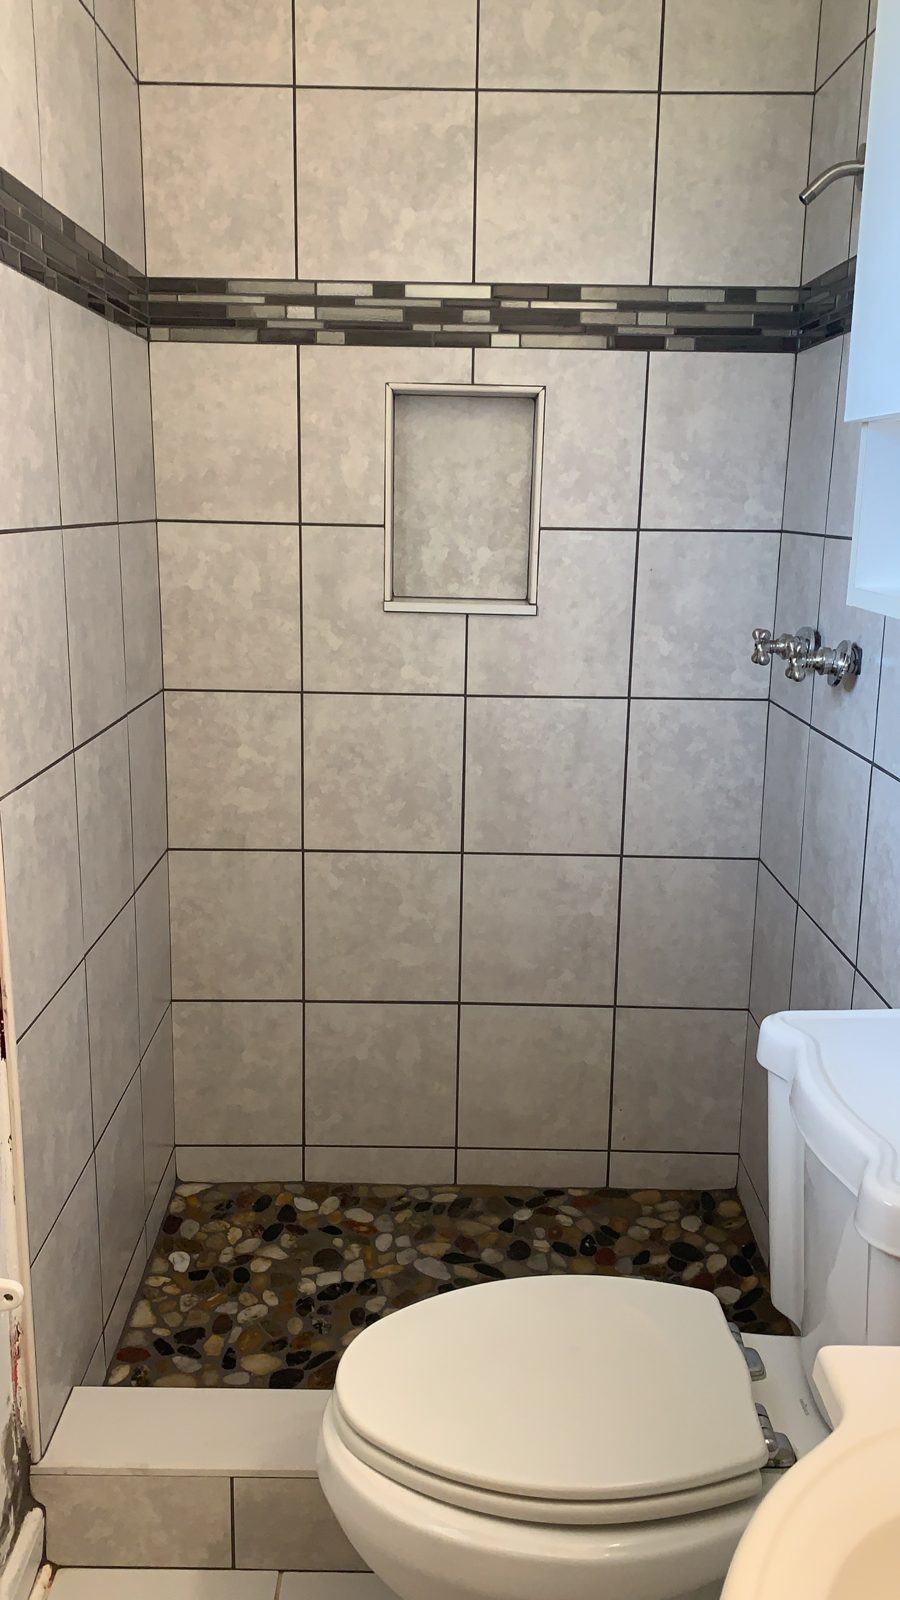
- Built-in niches sized for your bottles, placed where you'll actually use them
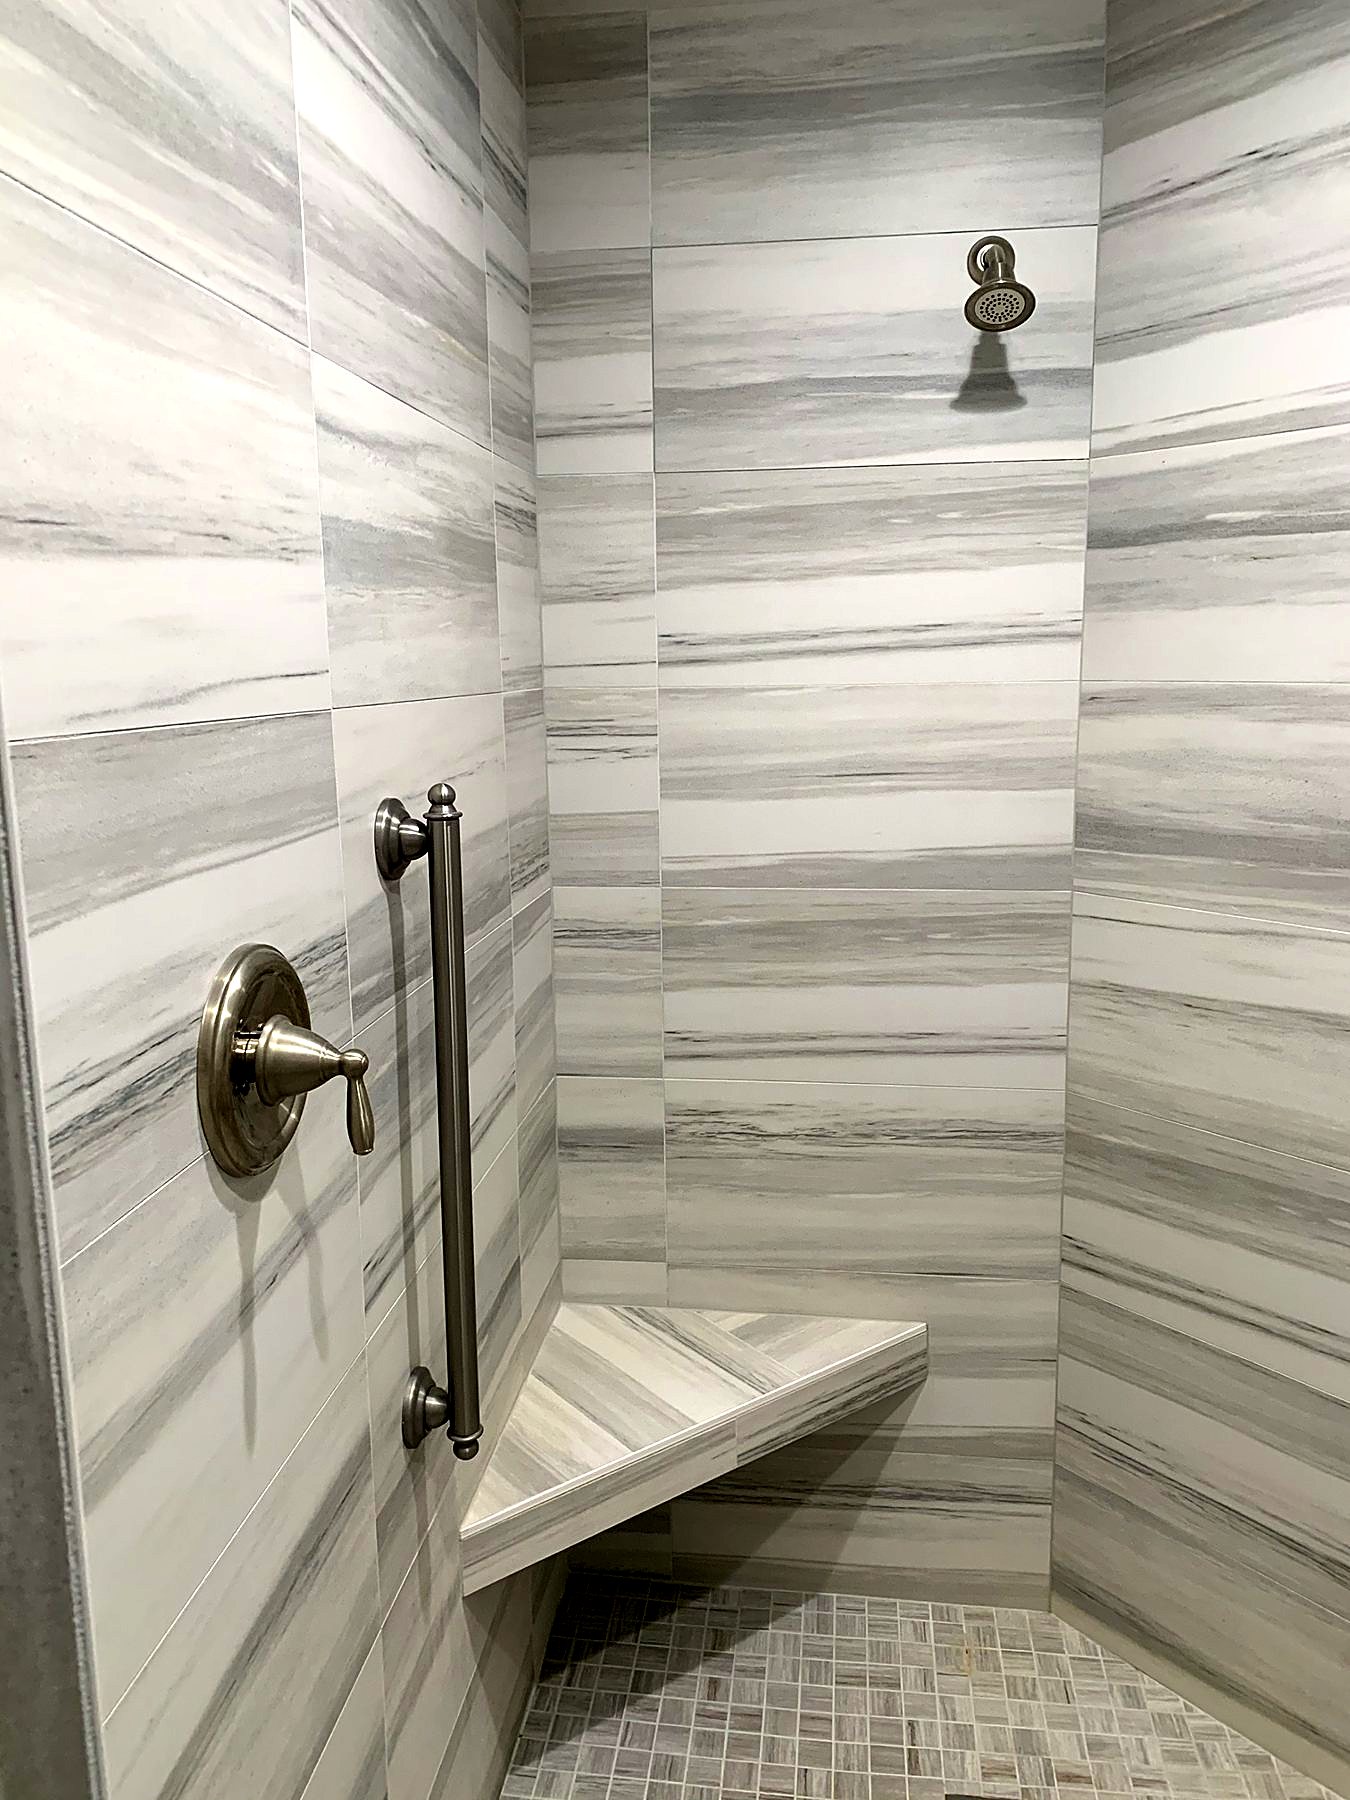
- Corner or full-width benches
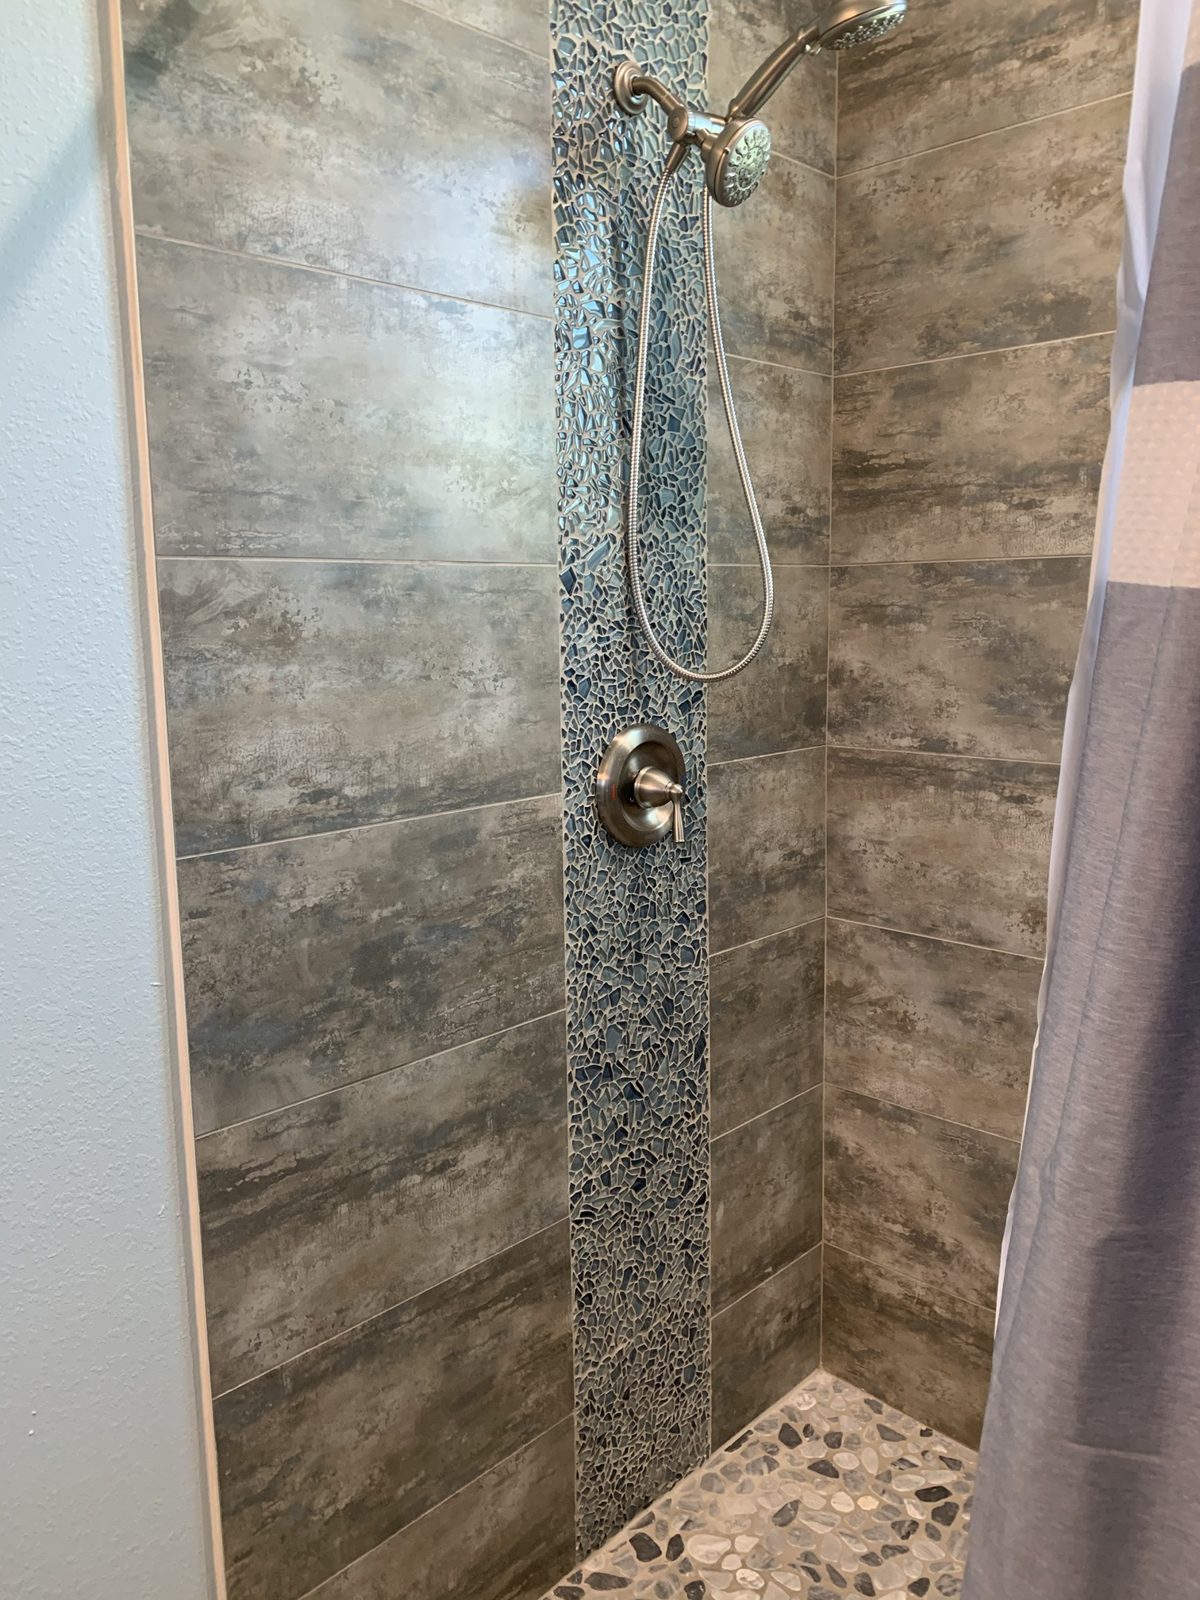
- Accent stripes and bands in glass or stone mosaic
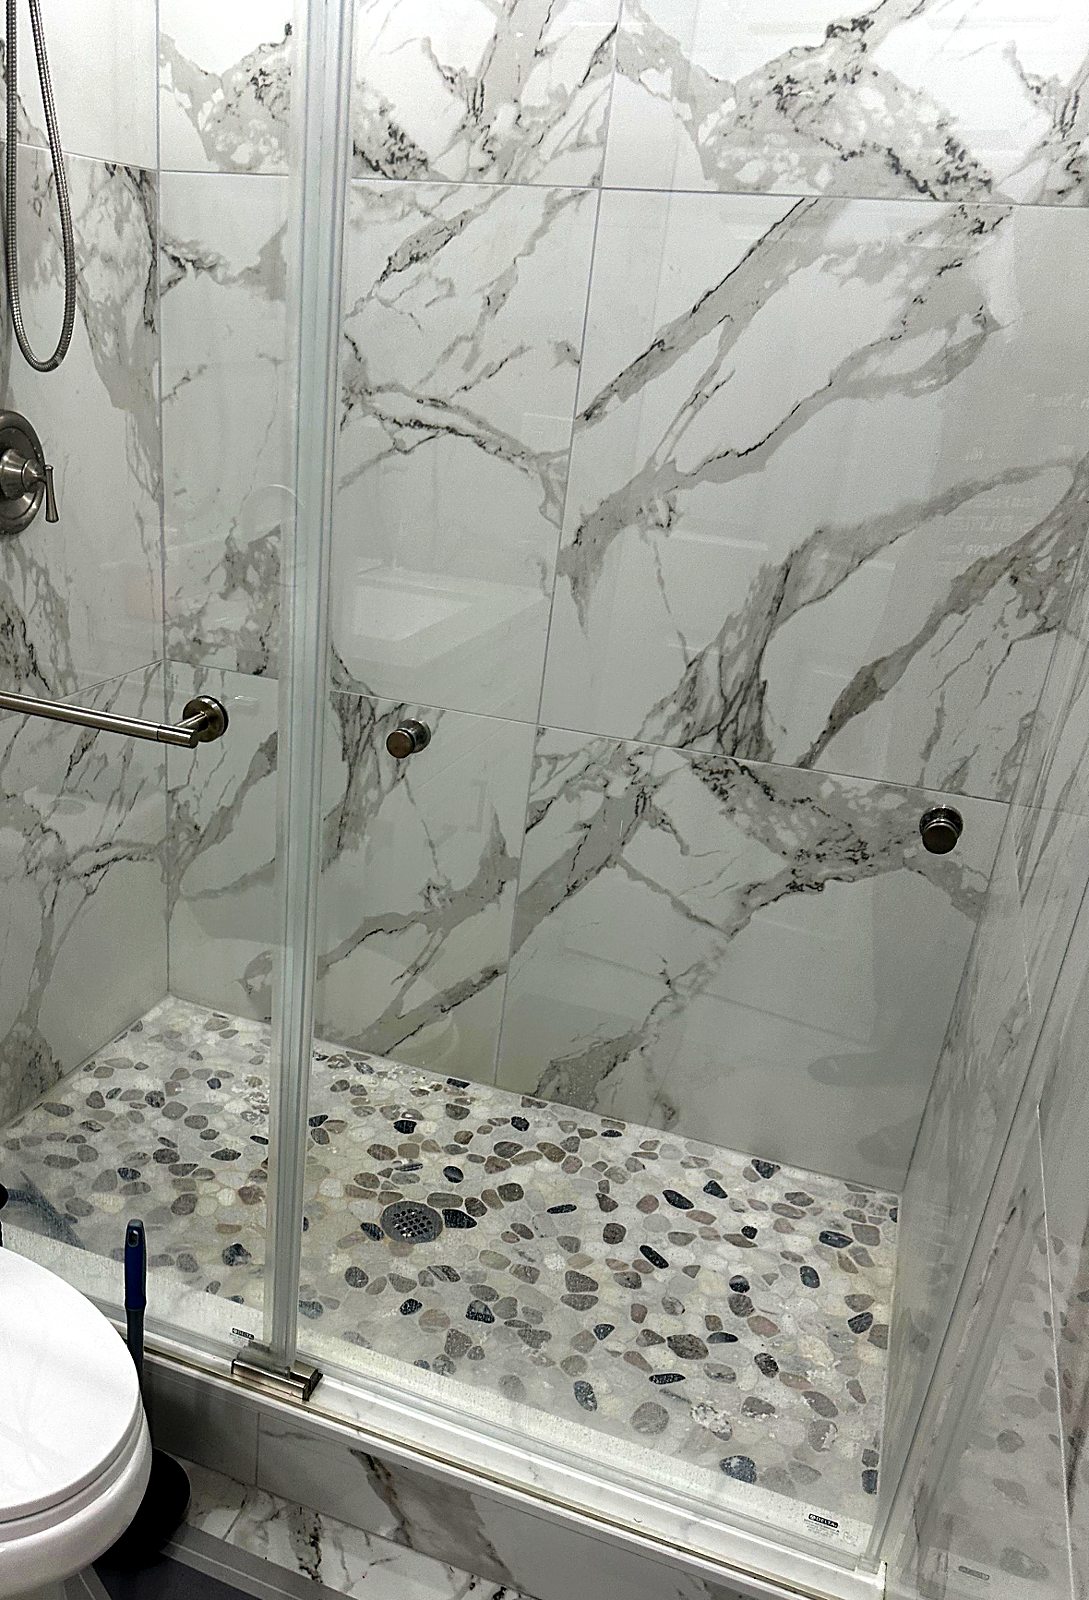
- Pebble and river-rock shower floors
- Porcelain, marble-look, travertine and natural stone walls
- Curbs and walls set up ready for a glass door or panel
Not sure where to start? Bring photos of showers you like. Large-format porcelain means fewer grout lines to clean, small mosaics and pebbles grip better underfoot, and a niche on a wall away from the showerhead keeps bottles out of the spray. A bench is easiest to add while the walls are open, so decide on it before demo.
What to expect
We'll look at the space, talk through tile, layout, and where the niche and bench should go, and give you a written estimate. A typical shower goes in this order: demo, any framing or valve changes, backer board and waterproofing, the pan and floor, wall tile, grout and caulk, then trim-out. We walk the finished shower with you before we call it done.
Many of our showers are part of a full bathroom remodel, but we also build showers on their own. If your existing shower floor is cracked or leaking, see tile and shower floor repair. For ideas, scroll the photos below or the full project gallery; every shower there is our own work.